What Should I Know About a Repair Shop for Vacuum Cleaners?
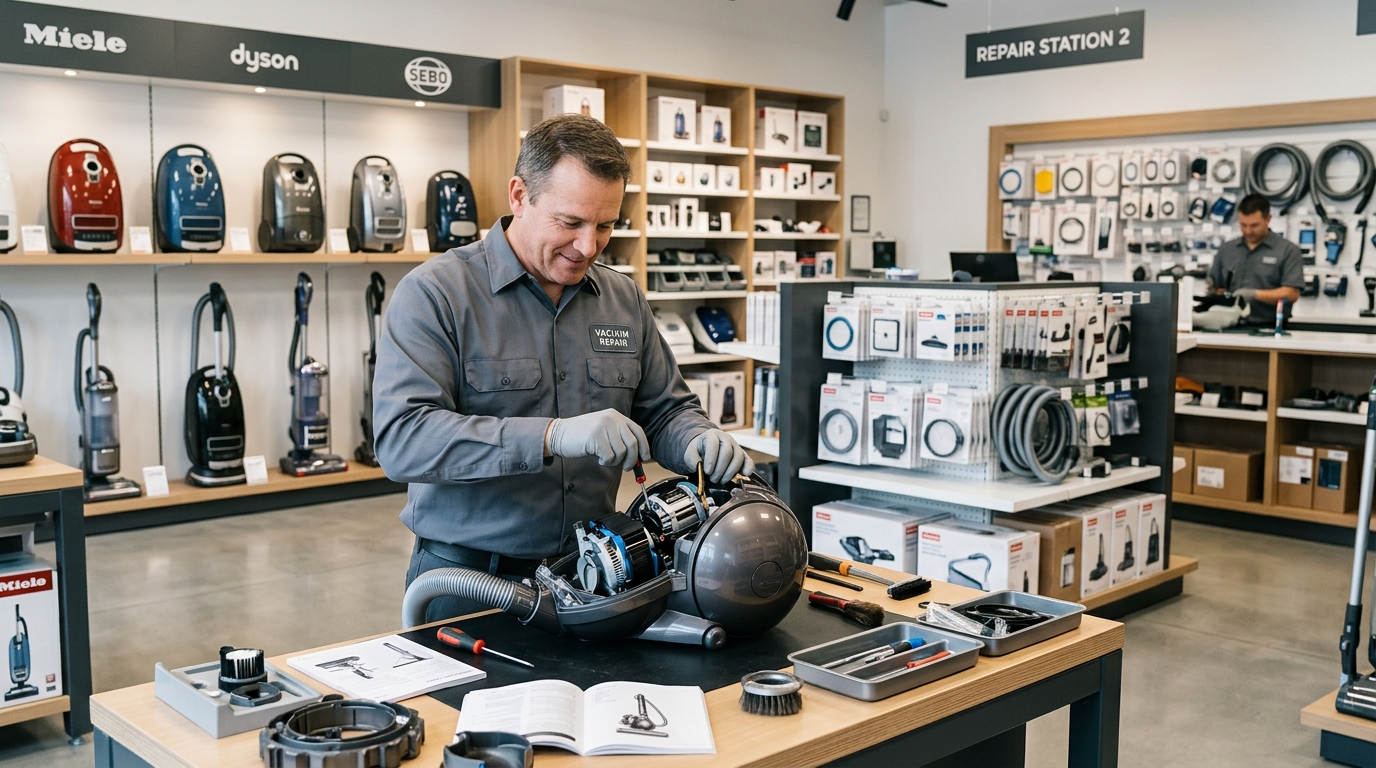
Common Mistake: Ignoring Vacuum Cleaner Issues
Many people wait too long to address vacuum cleaner problems, thinking they can last a little longer without fixing them. This usually leads to more serious issues and higher repair costs. Ignoring issues like decreased suction or unusual noises can turn a minor fix into a major overhaul, potentially damaging other components or even posing safety risks like overheating or electrical shorts. If you notice unusual sounds, suction problems, or even smell burning, it’s time to consider a repair shop for vacuum cleaners. To help you make informed decisions, here’s a practical guide to understanding and navigating vacuum cleaner repairs.
Trained technicians handle vacuum cleaner repairs near me across the area.
Understanding Vacuum Cleaner Repairs
Vacuum cleaners, just like any other appliance, require maintenance and occasional repairs. Modern vacuums, from traditional uprights to sophisticated robotic models, incorporate various technologies that can wear out or malfunction over time. Repairs can range from simple fixes, like changing a filter or replacing a worn belt, to more complicated electrical issues involving motors, circuit boards, or wiring. Knowing when to seek professional help is crucial, as attempting complex repairs yourself can void warranties, cause further damage, or even be dangerous. Choosing the right shop can make all the difference in the longevity and performance of your vacuum, ensuring it continues to efficiently clean your home.
Signs Your Vacuum Needs Repair
It's important to be proactive when you notice your vacuum isn't performing as it should. Look out for these warning signs:
- Decreased suction: This is one of the most common complaints. If you find that your vacuum isn’t picking up dirt and debris as it used to, it could indicate a variety of issues. Common culprits include a clogged hose or filter, a full dust bag/canister, a worn-out or broken belt, or even a motor losing efficiency. Left unaddressed, persistent low suction can strain the motor and lead to more serious problems.
- Unusual noises: While vacuums are inherently noisy, new or distinct sounds are red flags. Grinding or squealing sounds may suggest mechanical issues, such as a worn-out brush roll bearing, a loose fan, or debris lodged in the motor housing. A sudden increase in volume could also indicate a motor problem or an obstruction in the airflow pathway. Clicking sounds often point to brush roll issues.
- Burning smells: This is a critical warning sign that should be addressed immediately. A burning smell could indicate overheating, which might be caused by a clogged filter, a jammed brush roll, or a struggling motor. It can also point to an electrical issue, such as frayed wiring or a failing motor component, posing a fire risk. Disconnect the vacuum from power immediately if you detect a burning smell.
- Frequent breakdowns: If your vacuum needs frequent repairs – perhaps every few months – or if the cost of repeated repairs starts to approach the price of a new unit, it might be more cost-effective to consider a replacement. Repeated issues can also indicate a deeper, chronic problem that a quick fix won't resolve.
- Visible damage or wear: Cracks in the housing, frayed power cords, or worn-out attachments are not just aesthetic issues. A damaged cord can be a shock hazard, while compromised housing can expose internal components to dust and debris, shortening the vacuum's lifespan.
- Loss of power or intermittent operation: If your vacuum struggles to turn on, frequently shuts off during use, or loses power sporadically, it could be an electrical issue with the cord, switch, internal wiring, or motor. This requires professional diagnosis to ensure safe operation.
What to Check Before Booking a Repair Service
When you're ready to head to a repair shop for vacuum cleaners, it's a good idea to do some homework first. Your due diligence can save you time, money, and frustration:
- Check reviews: Start by looking at online reviews on platforms like Google, Yelp, or local directories. Pay attention to what previous customers have to say about their experiences, focusing on aspects like customer service, repair quality, turnaround time, pricing transparency, and reliability. Look for consistent positive feedback and how the shop responds to negative reviews, as this can indicate their commitment to customer satisfaction. If you're in Vadodara and need a reliable service, consider exploring options for vacuum cleaner repairs near me to ensure quality and timely assistance.
- Ask about experience and specialization: Find a shop that specializes in vacuum repairs, rather than a general appliance repair shop. Technicians who focus solely on vacuums often have deeper knowledge of various brands and models, from common household names like Dyson, Shark, and Bissell, to premium brands like Miele and Sebo, and even commercial units. Experience with various types (upright, canister, stick, handheld, robotic, wet/dry) is a significant plus, as each type has its own common issues and repair procedures.
- Get estimates: Always ask for a detailed price estimate before proceeding with any repairs. A reputable shop should offer a diagnostic fee (which may or may not be waived if you proceed with the repair) and then provide a clear breakdown of parts and labor costs. Don’t be afraid to compare estimates from a couple of different shops. Typical repair fees in Vadodara range from ₹500 to ₹2000, depending on the complexity of the issue, but these can go higher for extensive motor work or specialized parts.
- Warranty status: Before you commit to a repair, check if your vacuum is still under its manufacturer's warranty. Many manufacturers offer warranties that cover parts and labor for a specific period (e.g., 1-5 years). If it is, contact the manufacturer or the place of purchase, as some repairs might be covered at no cost to you. Be aware that warranties often have conditions, such as requiring service by authorized technicians.
- Inquire about repair warranty: Ask if the repair shop offers its own warranty on parts and labor for the work they perform. A good shop will typically guarantee their work for a period, often 30 to 90 days. This provides peace of mind that if the same issue recurs shortly after the repair, you won't incur additional costs.
- Ask about parts availability: For less common brands or older models, parts might be harder to source. Inquire about the shop's ability to obtain necessary parts and potential delays if parts need to be ordered.
- Understand the diagnostic process: Ask how they diagnose problems. Do they charge a separate diagnostic fee? How thorough is their initial assessment? A comprehensive diagnostic helps ensure that the root cause of the problem is identified, not just the symptoms.
- Check for certifications or affiliations: While not always necessary, some shops may be certified by specific manufacturers or be members of professional associations, which can indicate a commitment to quality and ongoing training.
Typical Costs for Vacuum Cleaner Repairs in Vadodara
Understanding the costs associated with vacuum repairs can help set expectations and aid in deciding whether to repair or replace your appliance. Prices can vary based on the vacuum type (e.g., upright, canister, robot, corded, cordless), brand, and the specific issue.
- Basic Repairs: Minor issues are typically the most affordable to fix. These generally cost around ₹500 to ₹800. Examples include:
- Belt replacement: A common wear-and-tear item, usually ₹300-₹500 for the belt and labor.
- Filter cleaning/replacement: Essential for suction, costs for a new filter and labor might be ₹200-₹600 depending on filter type (HEPA filters are more expensive).
- Clog removal: If a simple clog is obstructing airflow, the service fee for diagnosis and removal might be ₹300-₹700.
- Brush roll cleaning/adjustment: Clearing hair and debris, or adjusting the brush height, typically falls in the ₹400-₹700 range.
- Intermediate Repairs: These involve slightly more complex parts or more labor-intensive work, ranging from ₹800 to ₹1500.
- Hose replacement: If a hose is cracked or torn, a replacement hose plus labor could be ₹700-₹1200, depending on the vacuum model.
- Switch repair/replacement: A faulty power switch can be replaced for around ₹600-₹1000.
- Cord repair/replacement: Frayed or damaged power cords are a safety hazard. Replacement costs range from ₹700-₹1200.
- Minor mechanical adjustments: Issues like adjusting internal linkages or fixing minor housing problems.
- Electrical and Major Component Repairs: More complex repairs, such as motor issues, fan replacements, or main circuit board fixes, can range significantly from ₹1000 to ₹2500, and sometimes higher for premium models or very specific parts.
- Motor replacement: This is often the most expensive repair, potentially costing ₹1500 to ₹3000+, as the motor is the heart of the vacuum. The cost heavily depends on the motor's type and availability for your specific model.
- Fan replacement: A damaged fan can cause unusual noises and reduce suction. This might cost ₹1000-₹1800.
- Circuit board repair/replacement: For advanced vacuums, especially robot vacuums, issues with the main control board can be costly, often in the ₹1500-₹2500+ range.
- Service Fees: Most shops will have a non-refundable service charge for diagnosing the issue, usually between ₹200 to ₹500. This fee covers the technician's time to inspect your vacuum and pinpoint the problem. Some shops may waive this fee if you proceed with the recommended repairs, while others deduct it from the final repair cost.
- Robot Vacuum Specifics: Repairing robot vacuums can sometimes be more expensive due to specialized sensors, software, and integrated components. Battery replacements for robot vacuums can range from ₹800-₹2000, while sensor or wheel repairs might be ₹1000-₹2500.
It's important to weigh the repair cost against the price of a new vacuum. If the repair cost exceeds 50-70% of a new comparable model's price, replacement might be the more economical choice, especially for older vacuums.
How Long Does a Vacuum Repair Take?
The time required for repairs can vary greatly, influenced by the complexity of the issue, the availability of parts, and the shop’s current workload. Understanding these factors can help you anticipate how long you’ll be without your vacuum.
- Simple fixes: Issues like changing filters, replacing a belt, or removing a simple clog can often be done within the same day, sometimes even while you wait (if the shop isn't busy). These repairs require minimal disassembly and common parts that are usually kept in stock.
- Intermediate repairs: For tasks like replacing a power cord, a faulty switch, or a damaged hose, the repair might take 1 to 2 days. These jobs require a bit more time for disassembly, reassembly, and testing, and the parts may need to be ordered if not immediately available.
- Complex repairs: More intricate issues, such as motor replacements, fan repairs, or addressing electrical problems with internal wiring or circuit boards, may take 2-3 days or even longer. These repairs demand more specialized tools, extensive diagnostic work, and considerable labor. If a specific part needs to be ordered from the manufacturer, the turnaround time can extend significantly, sometimes up to a week or more, depending on shipping and stock availability.
- Turnaround may vary: The biggest variable is often the availability of parts. If a non-standard or brand-specific part needs to be ordered, it can add several days to the repair timeline. The shop’s workload at the time of your visit also plays a crucial role; busy periods (like after major holidays or during specific seasons) can mean a longer waiting list for repairs. Always ask for an estimated completion time when you drop off your vacuum, and inquire about how they communicate delays if they arise.
What to Expect During Repair Services
When you drop off your vacuum for service, knowing what to expect can make the process smoother and more transparent. A professional repair shop follows a structured process to ensure quality service.
- Initial Inspection & Drop-off: When you bring your vacuum in, a service representative will typically ask you to describe the problem in detail. They may perform a quick visual inspection and record the model, serial number, and reported issues. You’ll provide your contact information, and they'll explain their diagnostic process and any associated fees.
- Thorough Diagnosis: The technician will then take your vacuum to the workbench for a detailed assessment. This involves disassembling relevant parts, using specialized tools to test electrical components, checking for blockages, inspecting the motor, and identifying worn-out mechanical parts. The goal is to pinpoint the exact cause of the problem and identify any secondary issues that might contribute to it.
- Estimate Provided: After the diagnosis, the technician will formulate a repair plan. They will contact you (usually by phone or email) to provide a detailed estimate of the cost, including parts and labor, and an estimated time frame for completion. This is your opportunity to ask questions, understand what needs to be fixed, and approve the repairs. No work should proceed without your explicit consent.
- Repair Process: Once you approve the repairs, the technicians will meticulously proceed with the work. This involves replacing faulty parts, cleaning internal components, re-wiring, or performing mechanical adjustments. They use their expertise and often specialized tools to ensure the repair is done correctly and safely. Expect to receive updates, especially if unexpected issues arise during the repair that might alter the cost or timeline.
- Final Testing: After the repairs are completed, your vacuum will undergo thorough final testing. This includes running the vacuum to check for proper suction, ensuring all functions (like brush roll, hose attachments, and power settings) are working, checking for unusual noises, and verifying that any electrical components are operating safely. This step ensures the vacuum is functioning properly and meets the shop's quality standards before you pick it up.
- Pick-up and Post-Repair Advice: Upon pick-up, the shop will explain the work that was done, review the final cost, and provide any warranty information for the repair. They may also offer advice on how to maintain your vacuum to prevent future issues, demonstrating good customer service and a commitment to appliance longevity. What is typically included in the service is the diagnostic labor, the cost of parts required for the repair, the labor for the repair itself, and the final testing.
Benefits of Using a Local Repair Shop
Choosing a local repair shop in Vadodara has unique advantages that often outweigh the convenience of shipping your vacuum to a larger service center or attempting DIY fixes.
- Personalized Service: Local shops often provide more personalized attention and care. You can speak directly with the technician, explain the problem in detail, and get a better understanding of the repair process. This direct communication fosters trust and ensures your specific concerns are addressed.
- Quick Turnaround: Being local, they might be able to offer faster service than larger, chain repair services that process hundreds of units. Parts are often stocked locally or can be sourced quicker, minimizing the time you're without your essential cleaning tool.
- Expertise with Local Conditions: Local technicians often have experience with common issues related to the local environment, such as specific types of dust, sand, or humidity, which might affect vacuum performance.
- Support Local Business: By choosing local, you contribute directly to the community’s economy, helping to sustain jobs and local commerce. This keeps money within your area and supports independent entrepreneurs.
- Environmental Impact: Repairing your vacuum locally, rather than discarding it prematurely, helps reduce electronic waste, contributing to a more sustainable lifestyle.
Finding a Reliable Repair Shop
If you’re looking for vacuum cleaner repairs near me, start by leveraging your personal network. Consider asking friends, family, neighbors, or colleagues for recommendations – word-of-mouth referrals are often the most trustworthy. Online reviews can also provide insight into the trustworthiness and service quality of shops nearby, but remember to look for patterns in feedback.
Make sure to visit a few repair shops (or at least call them) to compare services, diagnostic fees, and estimated costs. A good repair shop will be transparent about their pricing structure and willing to explain the repair process in terms you can understand. Don’t hesitate to ask questions; a good technician will be more than willing to explain the repair process and cost, as well as offer advice on preventative maintenance.
After the Repair: Maintenance Tips
Once your vacuum is back in working order, keeping it in good shape involves some simple, consistent maintenance. Regular care can significantly extend its lifespan, maintain its efficiency, and prevent the need for frequent repairs.
- Regularly clean or replace filters: This is perhaps the most crucial maintenance step. Most vacuums have filters (pre-motor and/or post-motor HEPA filters) that trap dust and allergens. Check your vacuum’s manual for specific recommendations, but generally, washable filters should be rinsed with water monthly and air-dried completely before reinsertion, while disposable filters need replacement every 3-6 months. Clogged filters severely reduce suction and strain the motor.
- Empty the dustbin/replace bags frequently: Don't wait until the dustbin is overflowing or the bag is completely full. A partially full container can already impede airflow and reduce suction power. Emptying or replacing bags after every few uses or when it's about two-thirds full is a good practice.
- Inspect hoses and belts regularly: Periodically check the vacuum hose for cracks, tears, or blockages. Stretch the hose to ensure it's clear of debris. For vacuums with a brush roll, inspect the drive belt every few months. Belts can stretch, crack, or break over time, leading to a non-spinning brush roll and poor cleaning performance. Replace worn belts promptly, as specified by your vacuum's manufacturer (typically every 6-12 months, depending on usage).
- Keep brushes clear: Hair, threads, pet fur, and debris can easily get caught in the rotating brush roll, wrapping around it and preventing it from spinning effectively. This not only reduces cleaning efficiency but also puts a strain on the motor and belt. Use scissors or a seam ripper to carefully cut and remove any tangled material from the brush roll after every few uses.
- Check attachments and accessories: Ensure all attachments are clean and free of blockages. Over time, smaller accessories can accumulate dust and debris, reducing their effectiveness. Wipe them down and ensure they click securely into place.
- Store properly: Always store your vacuum cleaner in a dry, safe place to prevent mold and mildew growth (especially if it's a wet/dry vacuum) and to protect it from accidental damage. Avoid storing it in extremely hot or cold environments, as this can affect plastic components and electrical wiring.
- Avoid vacuuming liquids (unless specified): Unless your vacuum is specifically designed for wet pickup, never vacuum liquids. This can cause severe damage to the motor and electrical components, leading to costly repairs or complete failure.
- Address issues promptly: Don't ignore small problems. If you notice a minor decline in performance or a strange sound, investigate it. Often, early intervention can prevent a small issue from escalating into a major, expensive repair.
By staying on top of vacuum maintenance and promptly addressing any necessary repairs, you can ensure that your vacuum operates effectively for years to come. Regular check-ups and a bit of care can save you money in the long run, enhance the lifespan of your appliance, and keep your home cleaner and healthier.


Comments
Post a Comment